Whitelist
The Whitelist page allows you to create rules for who can and can't mint NFTs from your project. There are 2 types of whitelists:
- A Static Whitelist where you directly input a user's address and the amount of NFTs they can mint.
- A Dynamic Whitelist where you set a policy id. If a user has an NFT from that policy id, they can mint the number of NFTs you set. Note, if a user transfers the NFT they used on a dynamic whitelist, the NFT cannot be used again for the same whitelist.

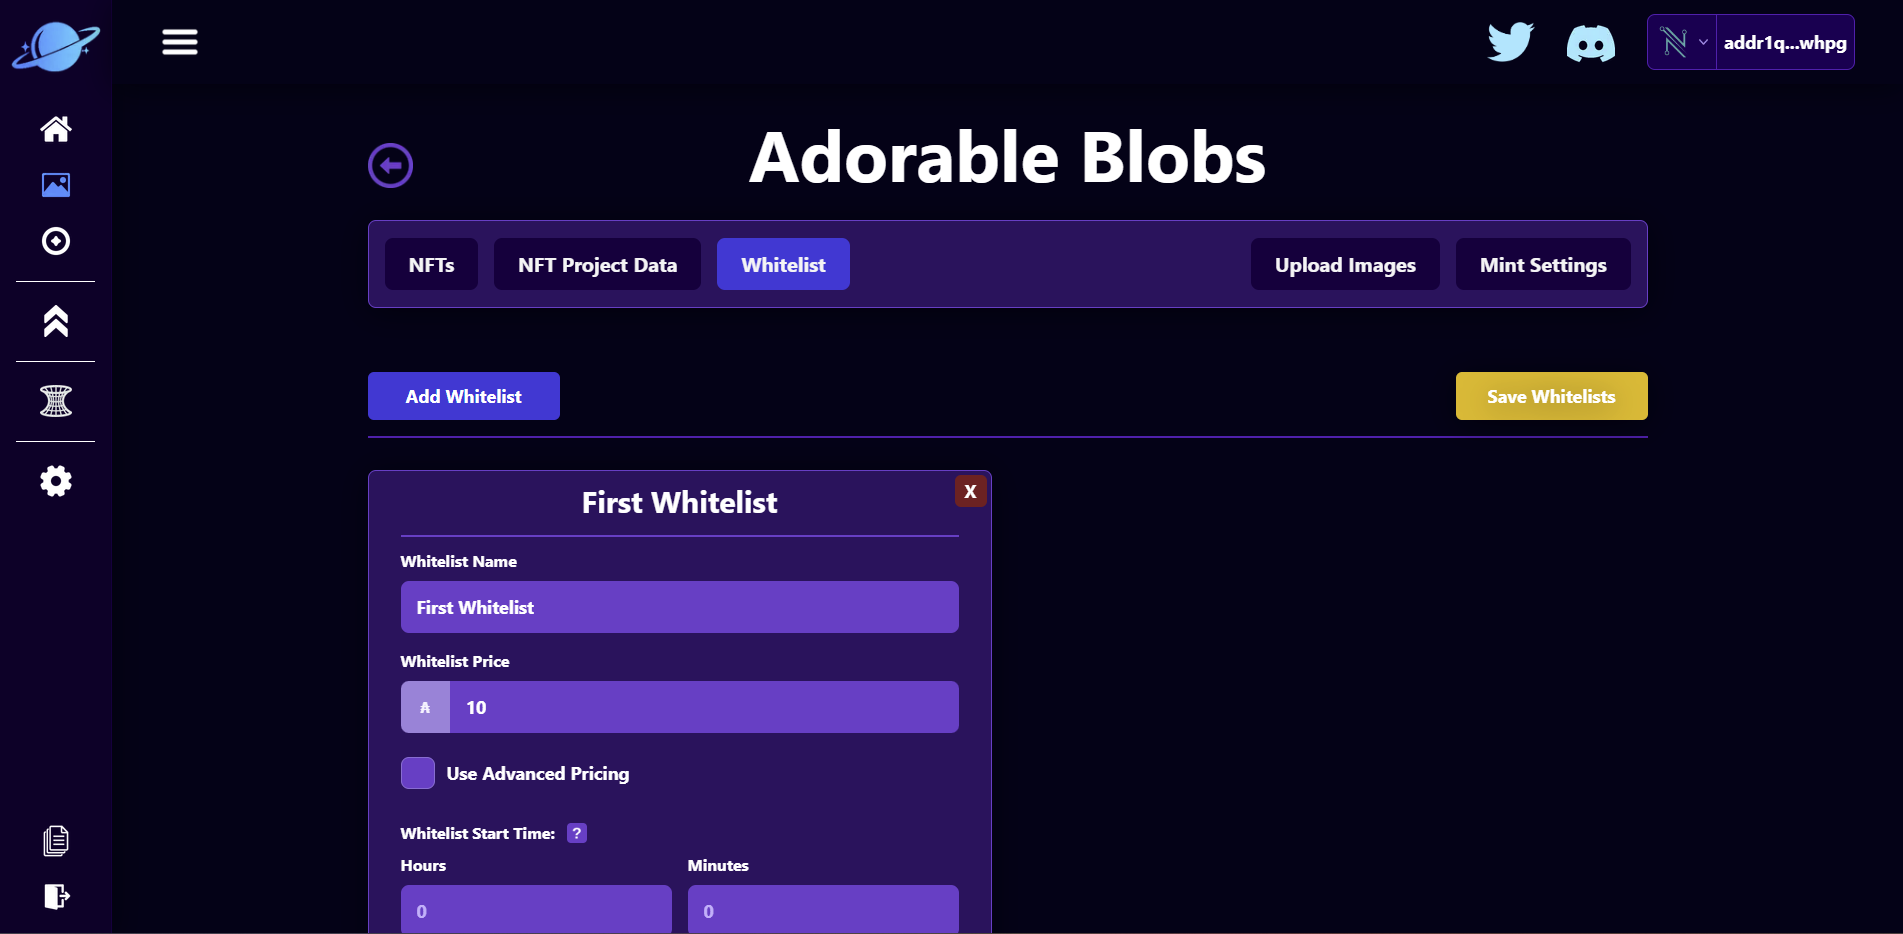
Add Your First Whitelist
To add a whitelist, click on the "Add Whitelist" button, this will create a whitelist with a series of inputs to fill in. You can have up to 5 whitelists for each NFT Project.
There are several parameters we need to fill in to complete the whitelist:
- Whitelist Name: This is the name of the whitelist that will appear on the mint page
- Whitelist Price This is the price that a user will pay for NFTs if they are qualify for the whitelist
- Whitelist Start Time: This is how many hours and minutes after the NFT mint has started (in the mint settings page) does this whitelist begin. For example, if you start a mint and want this whitelist active immediately, set the Hours and Minutes to 0. If you want the whitelist to start 1 hour after the mint starts, set the Hours to 1.
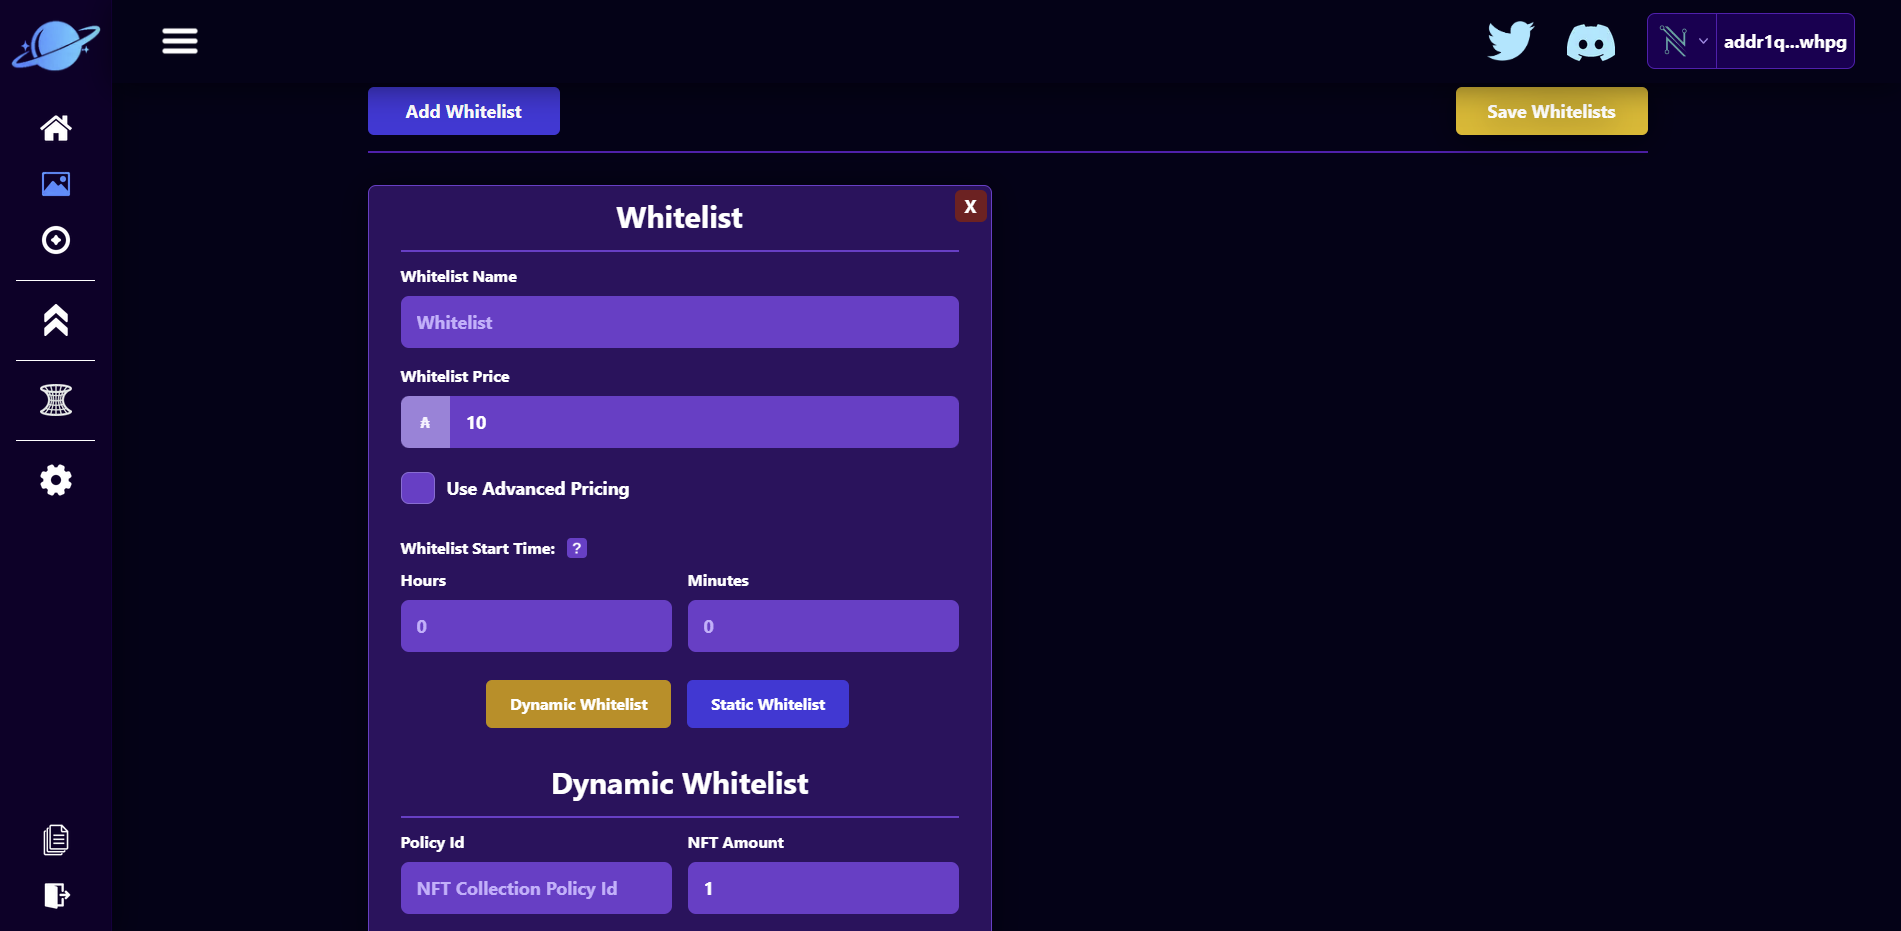
- Dynamic / Static Whitelist Button: This button determine if the whitelist is dynamic or static.
Dynamic Whitelist:
- Policy Id: This is for Dynamic Whitelists only! This is the policy id that a user must own an NFT of to qualify for the whitelist.
- NFT Amount: This is for Dynamic Whitelists only! This is the amount of NFTs a user can mint per whitelist qualification (how many NFTs of the policy id they own).
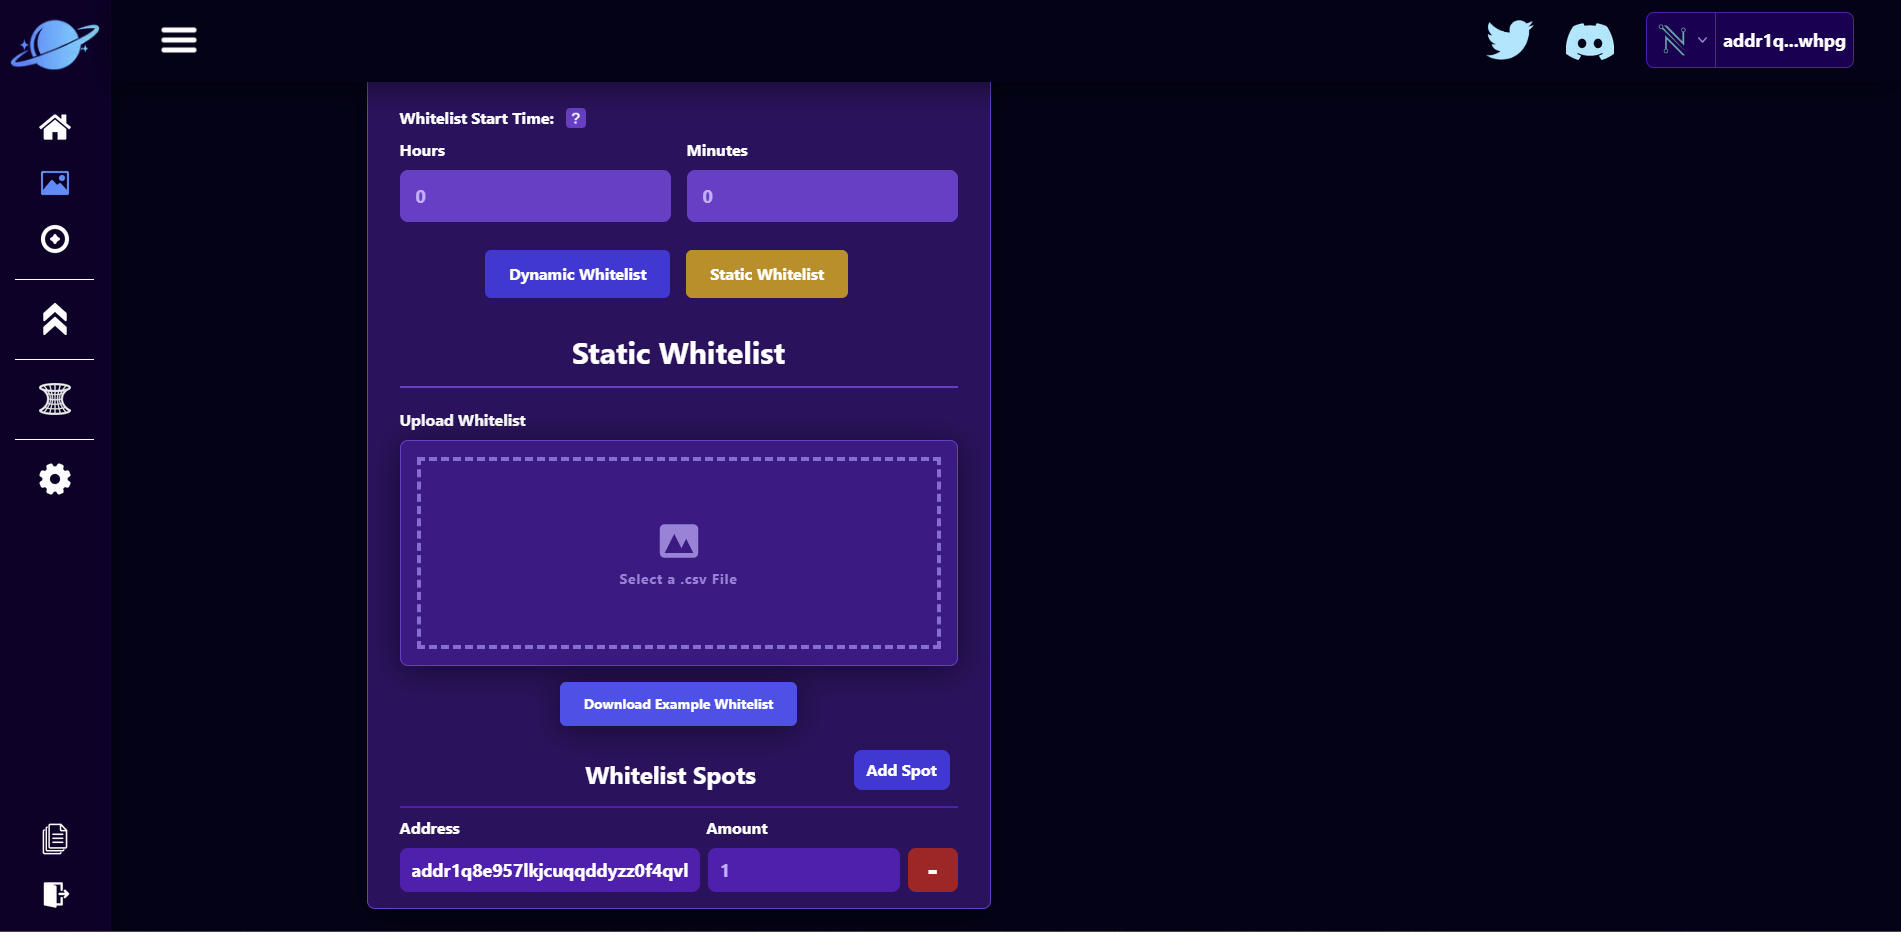
Static Whitelist:
- Upload Whitelist: This appears for Static Whitelists only! Here you can upload a csv file with user address and how many NFTs they are allowed to mint.
- Add Spot: This appears for Static Whitelists only! This allows you to add addresses to the static whitelist.
- Address: This appears for Static Whitelists only! This is the address of the user that is allowed to mint your NFT!
- Amount: This appears for Static Whitelists only! This is how many NFTs a user is allowed to mint for this whitelist.
Filling Out Our Whitelist
Lets fill in our first whitelist:
- We will name it "First Whitelist."
- Keep the price 10 Ada.
- Keep the Hours and Minutes 0.
- Select Static Whitelist.
- Add your own address with 1 Amount.
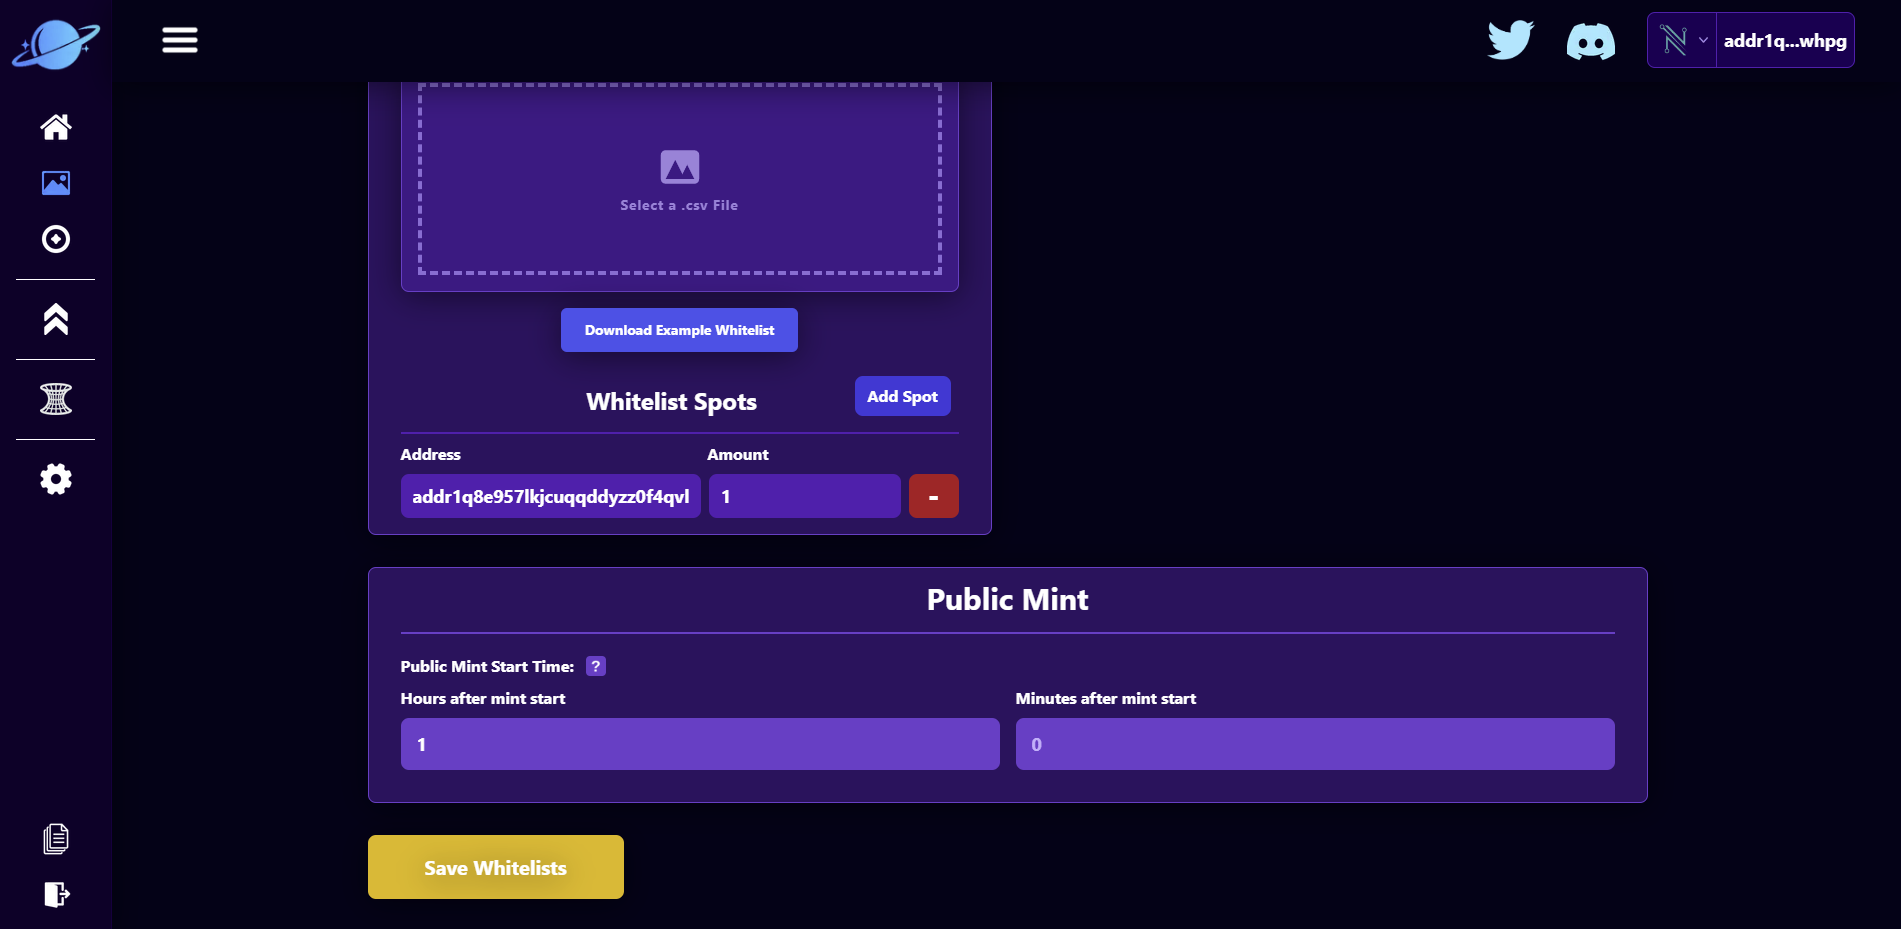
- In the Public Mint section, set "Hours after mint start" to 1. This means the public mint will occur hour after we start the overall mint. (Meaning whitelist users will be able to mint first).
- Save your whitelist!
Our whitelist page will look like this: